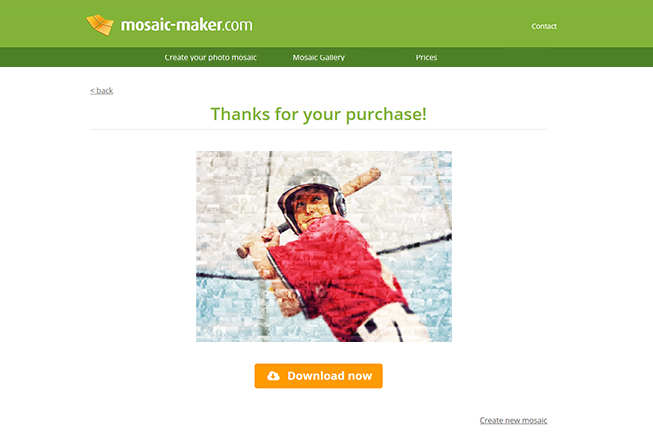
Our step by step guide shows you how to easily create a photo mosaic.
5 easy steps for creating the perfect Photo Mosaic
1. Upload your main image
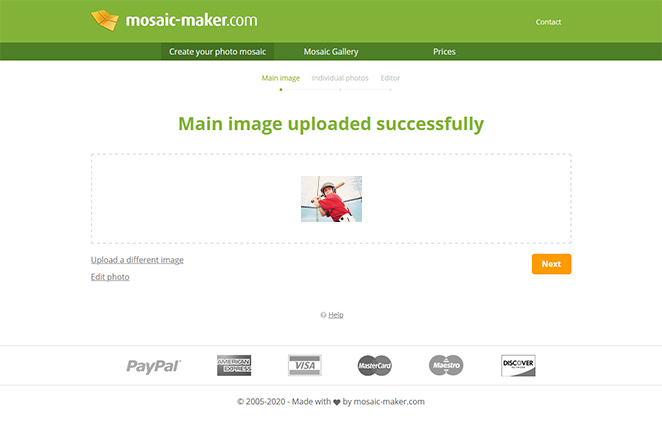
Click on „Create your photo mosaic“ in the main menu and choose the main image as the first step. This photo will be seen in a large size on your mosaic.
Main Image Tips
- The photo has to be a JPEG file.
- The resolution of the file should be more than 1500 x 1500 Pixel (about 2 megapixels) or have a file size over 1 megabyte (MB).
- You can upload photos with a size of up to 20 MB.
- The main image must be in one of the following formats: 4:3 (digital photo format), 3:2 (classic format), 1:1 (square format), or 2:1 (panorama format). If your photo has a different format, you can crop it after uploading.
- The photo file can also be a logo, symbol, or something else. It just has to be a JPEG file.
- A colorful main image with strong contrast looks great as a finished mosaic.
- The photo does not need to be very detailed. Small details will not be visible in the mosaic anyway.
2. Upload the individual photos
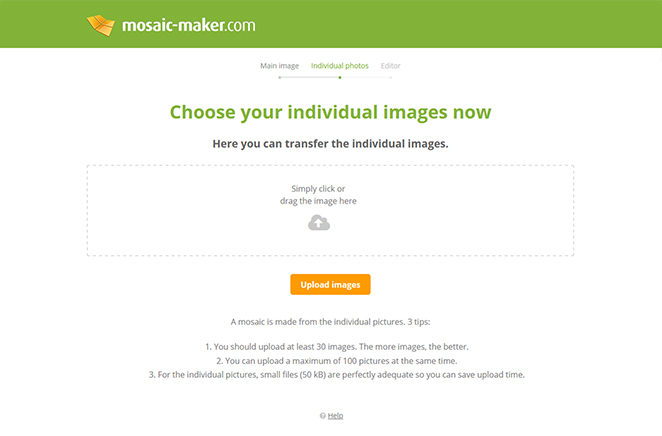
Now you can upload the individual photos which will be seen as small pictures in the background. You should upload at least 30 individual pictures.
Individual Photo Tips
- The more individual photos you upload, the more will be seen in the finished mosaic.
- A minimum of 30 individual photos should be uploaded. You can upload a maximum of 1,000 photos.
- The individual photos also need to be JPEG files.
- The individual photos can be small files. 50 kB oder 500 x 500 pixels is a sufficient size. Larger files only make the transfer time longer.
- Depending on your photo size, amount, and your internet connection, the transfer can take between 3 minutes and 2 hours. The transfer cannot be cancelled during that time.
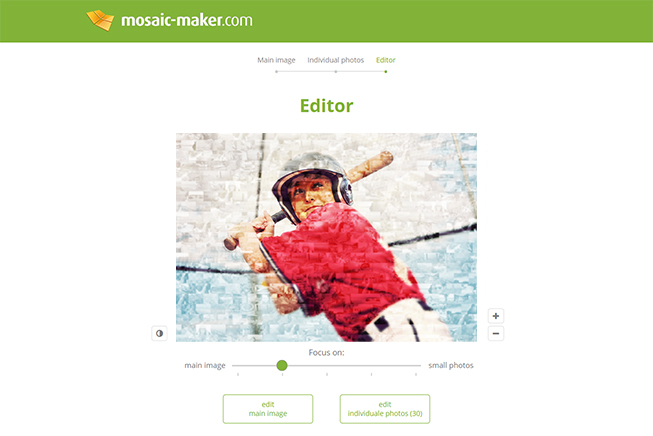
- The colors of the individual photos do not need to match the colors of the main one. The colors of the mosaic will be automatically adjusted to get the best result.
